To customize an Omnis Studio RT on Windows is harder than the Mac. The resources are not easy to find. Note that Omnis always is split by 2 after installation. One part in the Program Files and one part in the APPDATA folder.
1. Prepare Omnis
Before you codesign and notarize, you have to test your application carefully. The UI has changed in Omnis Studio 11. Field colors and window positions are not like before.
2. Localize Yes and No in your library
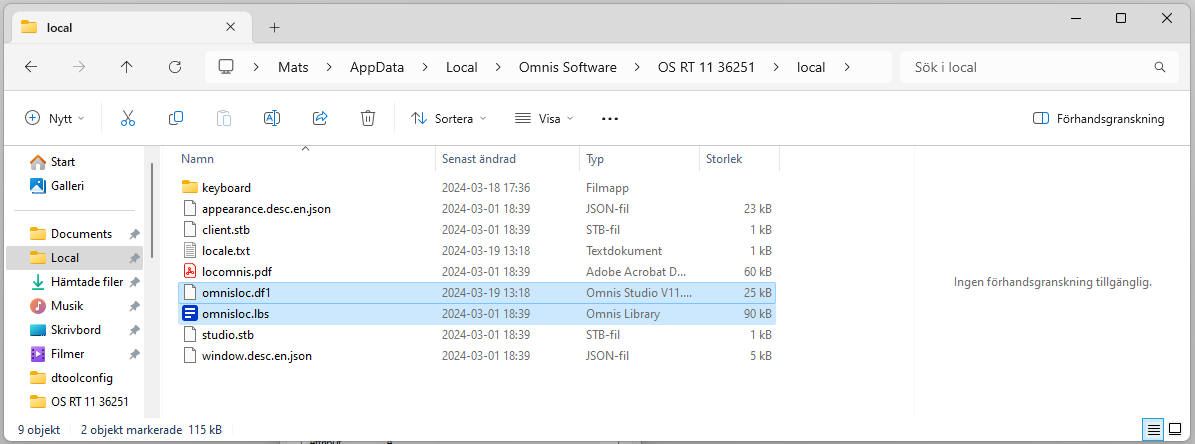
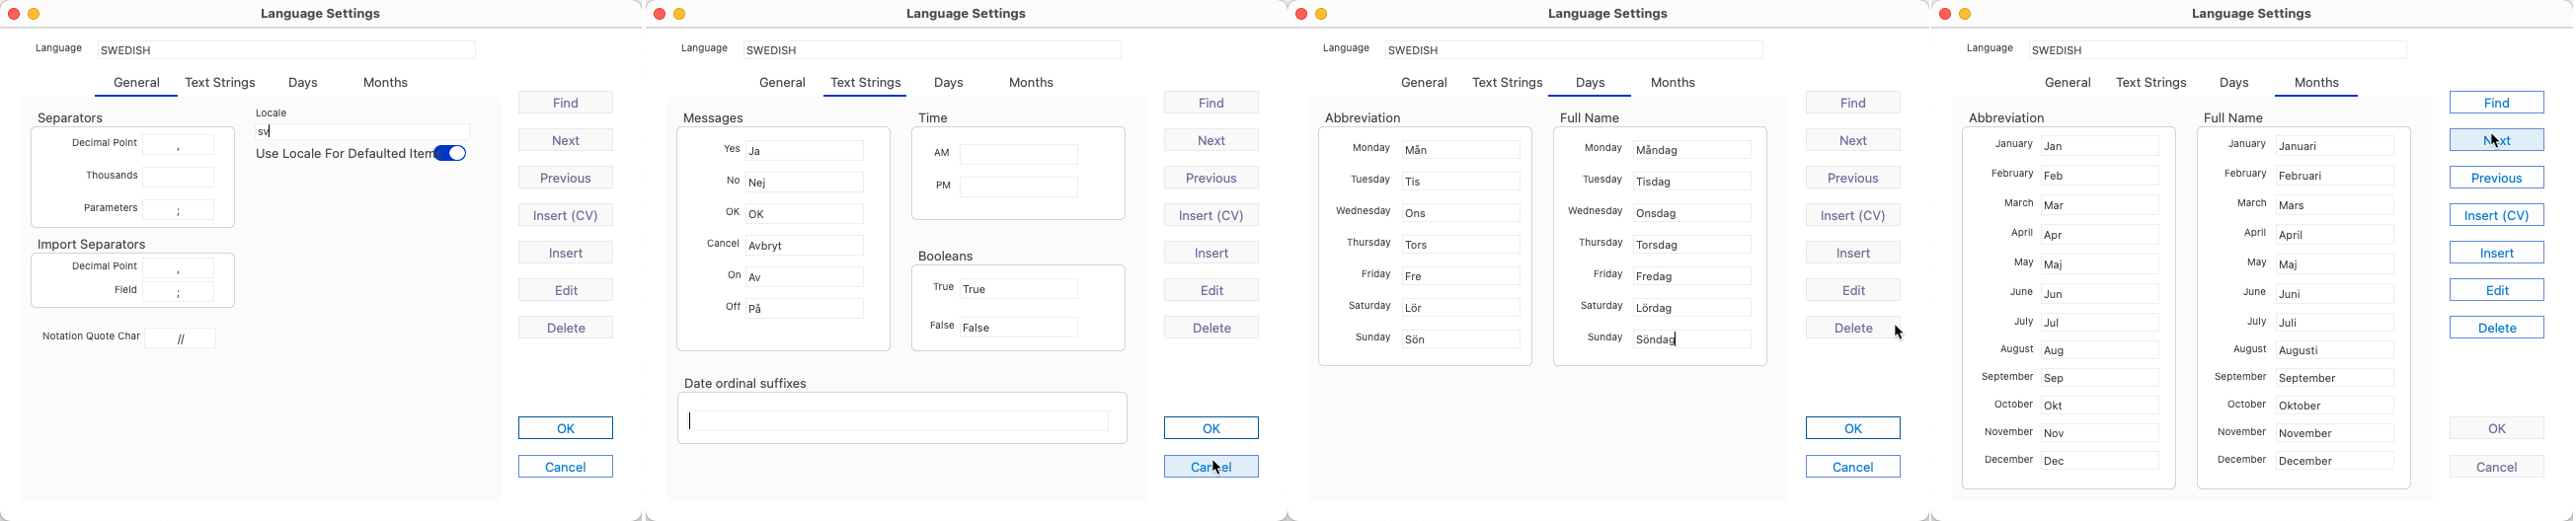
Omnis relies on that your language is present in the omnislic.df1 file. Just open omnisloc.lbs as any other library if needed add your prefered language. The data is saved within the omisloc.df1
3. Translate the menus
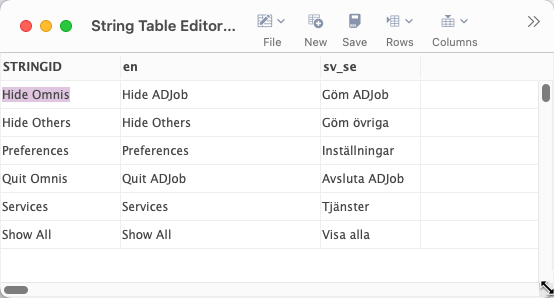
I have a mix of custom menus and Omnis menus. The custom menus are translated "automatically", but the Omnis menu have to be translated in another way. There is a built in string that you have to "translate" manually.
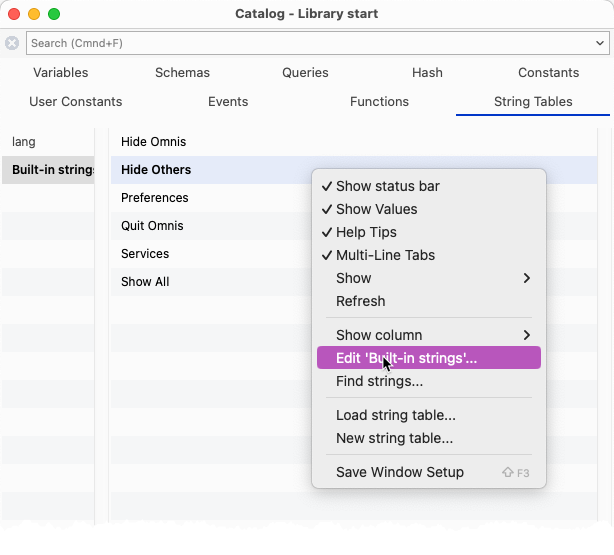
To reach this built-in string table, you use the View menu and Catalog. Note that the shortcuts does not work as default. F9 opens the Catalog. Press the tab "string tables" and select built-in strings. Then right click to edit string tables.
This translations are stored in /local/studio.stb. As you edit in the Omnis RT APPDATA, this tranlations will be in the firstruninstall folder (see 5 below).
4. Turn of error handling
Studio 11 introduces errors that never been reported before. This makes Omnis app completeley useless. Whatever you do, you get errors. So if you encounter unexpected behavior, turn off this "feature" before you deploy and code sign.
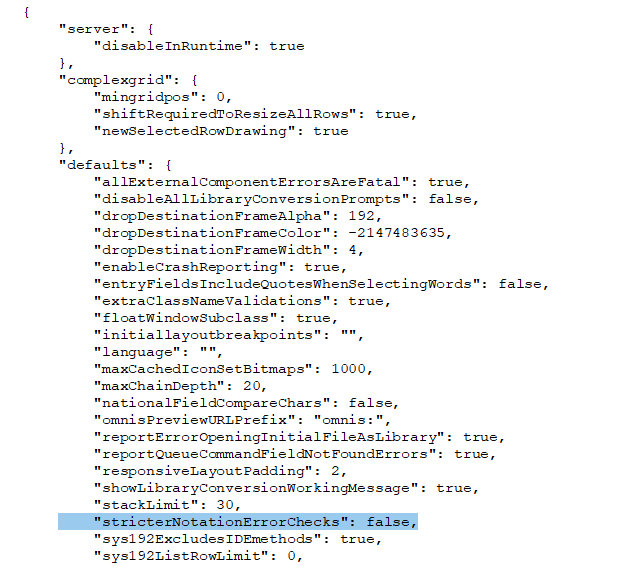
5. Copy the entire RT into a "build" folder
Customize/translate the basic changes in the "original" RT. Then to further customize Omnis RT, it is adviceable to make a copy of the entire RT. This copy of RT will then be "customized" and used by the installer. I call this the "build RT"
6. Create firstruninstall folder in the build RT
On Mac the firstruninstall folder is within the application bundle. This is the main option. So I am using the same setup on Windows.
After you created the "firstruninstall" folder in the build version, you just copy the content found in Omnis RT folder in APPDATA. Normally this content is found in the path
%localappdata%\Omnis Software\ > OS RT version
7. Customize firstruninstall folder in APPDATA
If you not want your application APPDATA (copied from firstruninstall folder) to appear in the APPDATA / Omnis Software folder, you have to tell Omnis where to put these files. Edit resources 25599 (company folder) and 25600 (Application folder).
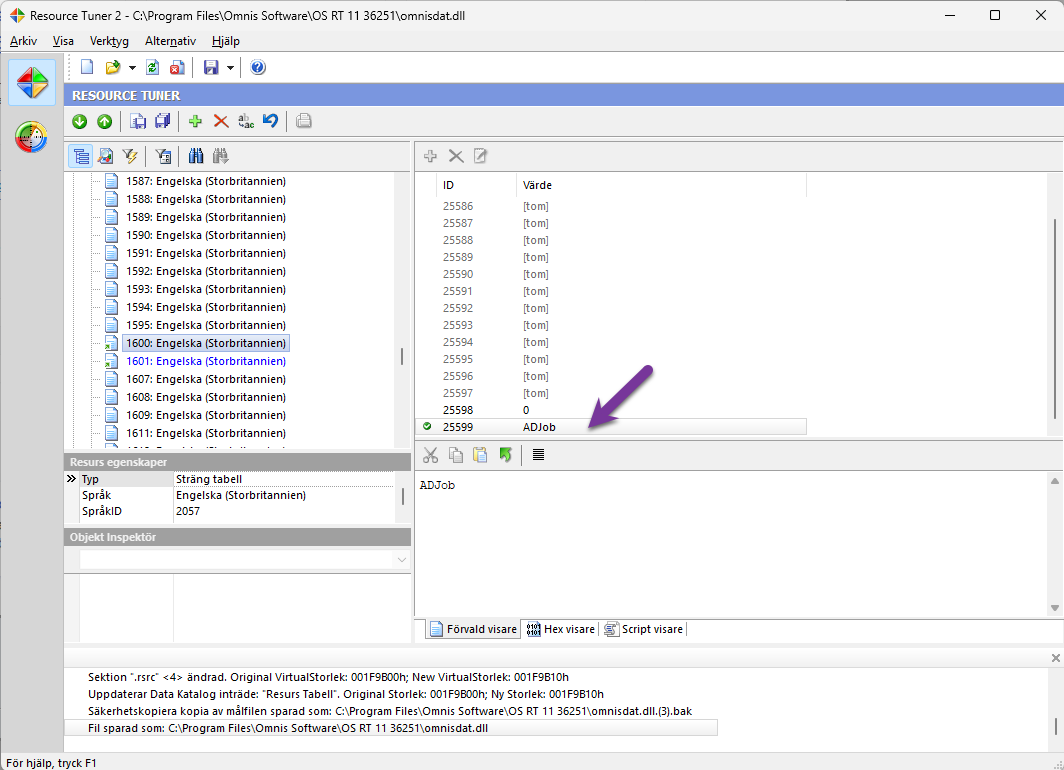
8. Rename the omnis.exe
In order to display your application name, you have to edit omnis.exe and omnisdat.dll to your application name. Like ADJob.exe and ADJobdat.dll
9. Replace Omnis icons
Save your icons in different sizes. 16px, 32px, 40px etc and replace the Omnis icons with your icons in both omnis.exe and omnisdat.dll.
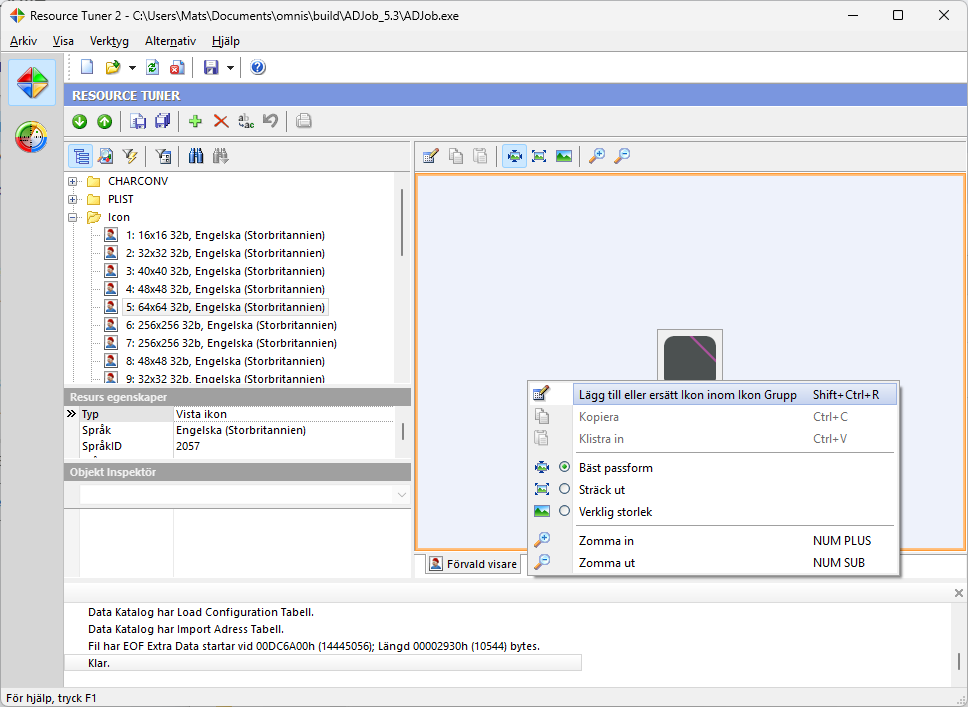
10. Replace minimize icon
The minimize icon appears on the left upper corner on Windows.
First you edit the icon with id 2000 in the Omnis Editor (OMNISPIC).
Then edit config.json to replace the Omnis icon that appear for a short time at start up.
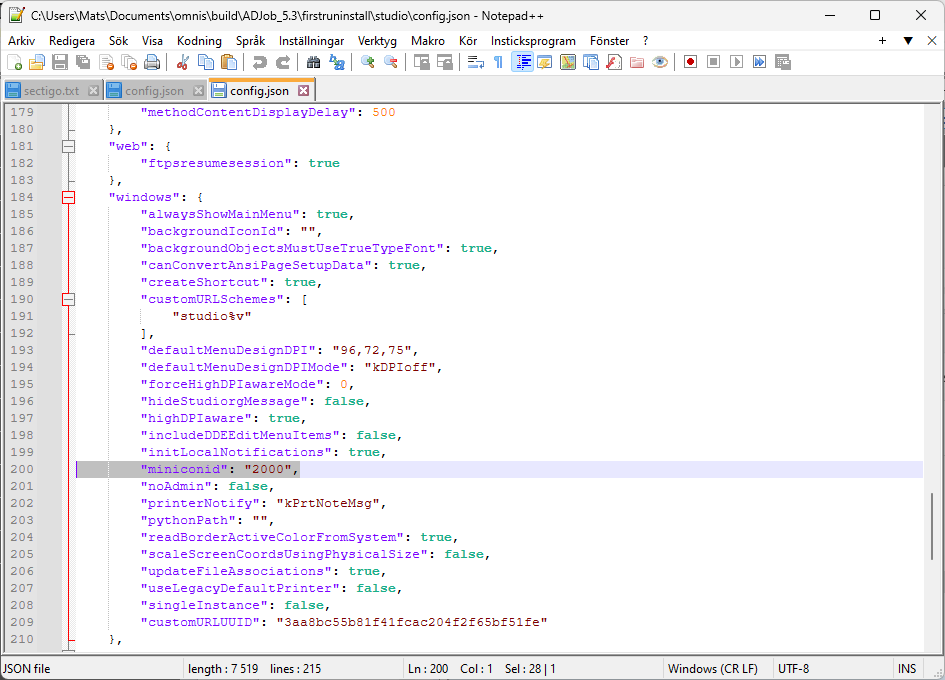
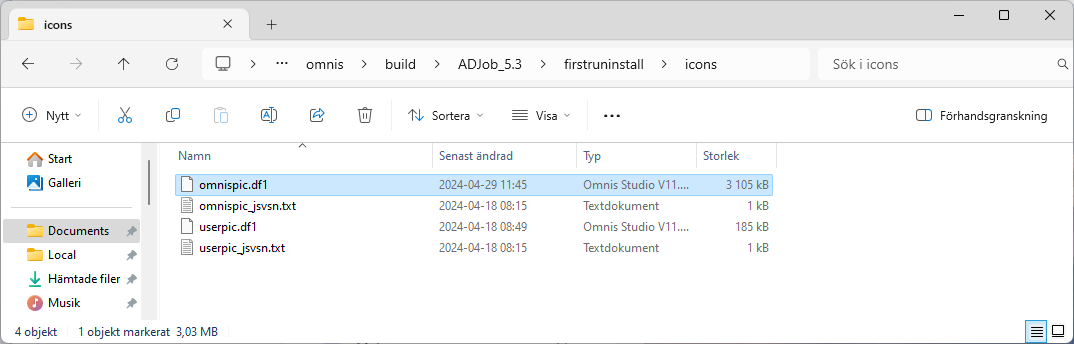
Do not forget to move the updated Omnispic.df1 to your "build" folder.
Finally you add this to your startup task
Do $root.$prefs.$minimizeiconid.$assign(2000)
11. Edit strings
Edit your application name etc in omnis.exe/omnisdat.dll using Resource Tuner.


12. Add runtime serial number
I find it less confusing for the end user to eliminate the need for serial number when evaluating. Hence I add a serial number to lower the threshold. You add the preferred RT serial number in serial.txt and put this into the firstruninstall folder. This serial number will later be replaced at purchase.