When you finally got the Comodo-Sectigo-Yubikey-Gemalto-Thales-SafeNet USB it is time to install it. In the US they have severe problems to make it simple and clear. Trademark inflation.
1. Download SafeNet
SafeNet is a software that is needed for installing the Code Signing Certificate on your PC.
Download SafeNet
2. Install SafeNet Authentication Client and restart PC
- Unplug your eToken from your device.
- Download the SafeNet Authentication Client (SAC) folder
- Click into the MSI folder, then click into either the x32 or x64 folder (whichever is required for your system). From there, run the MSI installer.
- The SafeNet Authentication Client Installation Wizard window will be displayed on your Windows computer, click Next.
- Follow the guide in the link...
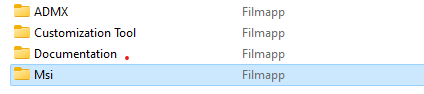
3. Start SafeNet and install the certificate
Open SafeNet. "Run SafeNet" as a Mac user, is not simple. As there is three exe files int the x64 folder. And zillions of other files. So on Windows you do not "open" an application. You "search" for an application to open.
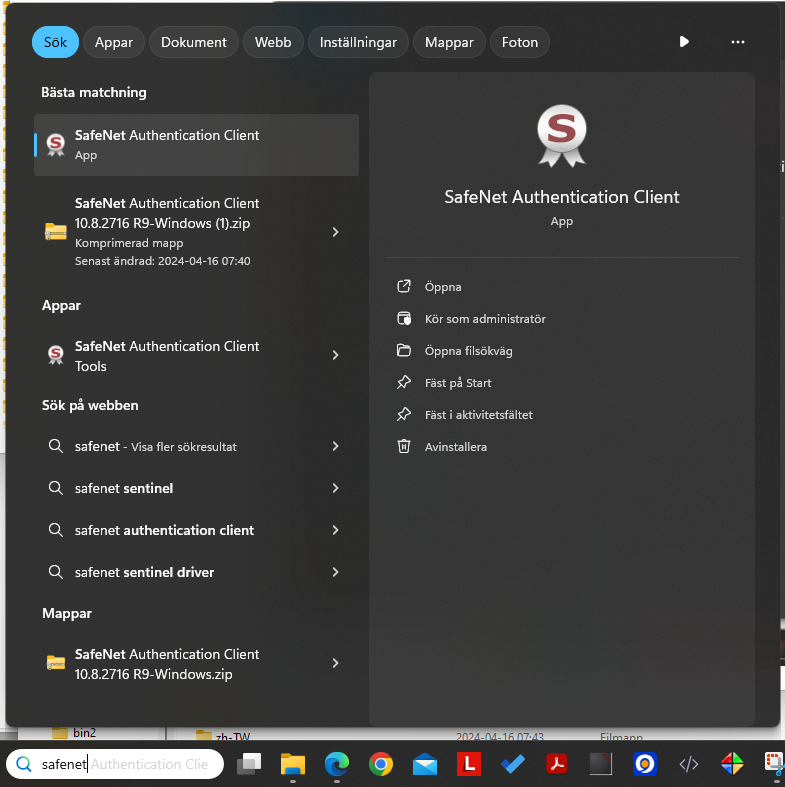
Setup Code Signing Token. Run SafeNet, then plug the code signing token into your PC. SafeNet should detect the token and display several options for token management.
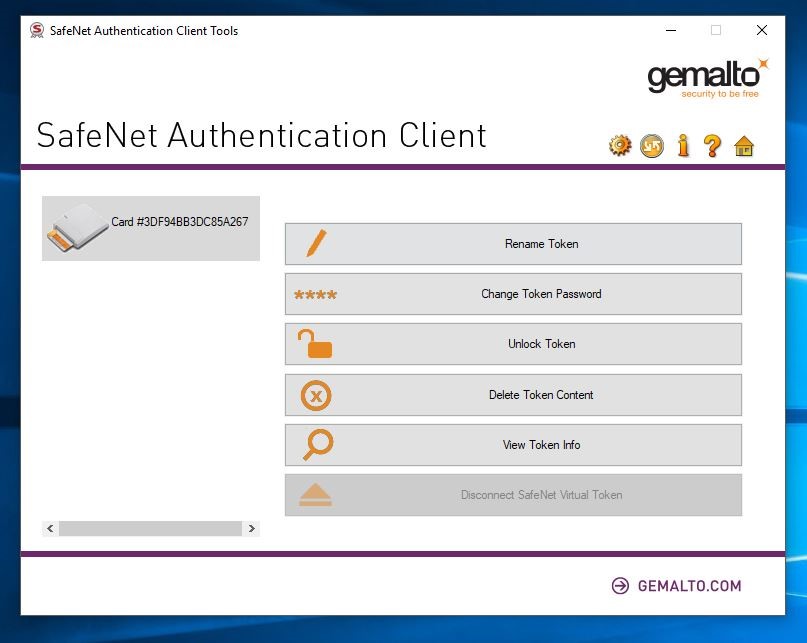
Change the Password. While it is not required, it is recommended that you choose to “Change Token Password,” which will open the interface to change the password for the token. Using the password received from the Certificate Authority in email format, input the existing password and input a new unique password that meets the security requirements of SafeNET.
Viewing the Certificate. To view the certificate details, click the Gear icon near the top right of the SafeNet client. Once clicked the interface will show a sidebar with any available tokens and drop-downs. Proceed to click into the drop-downs until you reach your company’s specific certificate as seen in the example below.
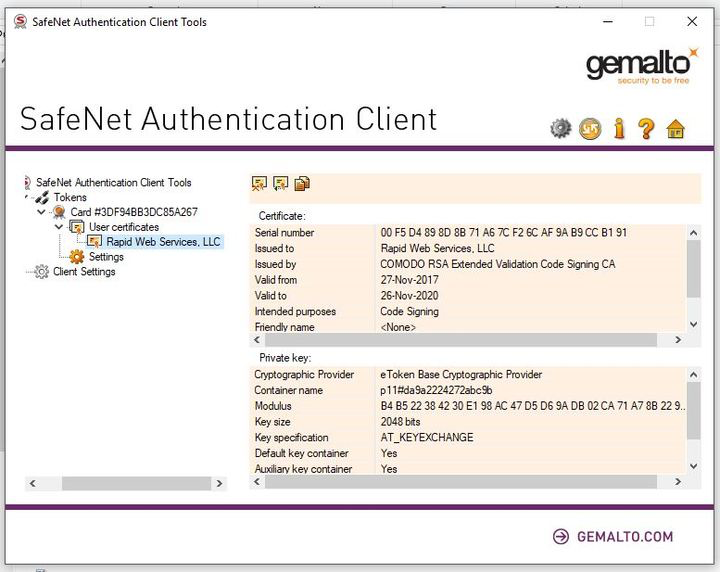
At this point you’re ready to begin signing your application with your Code Signing certificate!
Certificate Installation Instruction Original