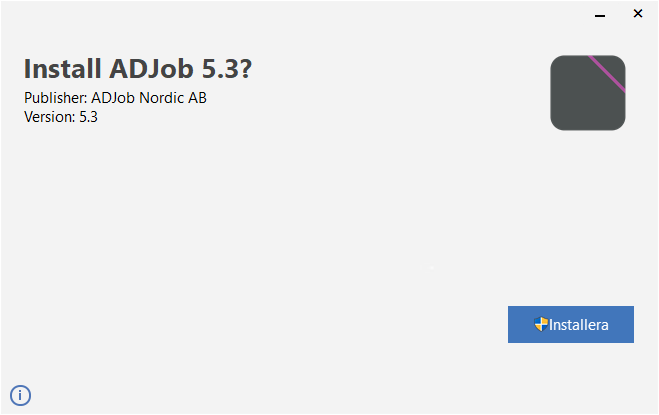
Basically you can create an installer application (.exe) or a script (.msi or .msix). I decided to use .msi as the built in Windows installer will take care of the uninstall etc. The new format .msix was confusing as the application was hidden and you did not know what happen. I decided to use Advanced Installer to create the installer but there are many other options out there.
The steps to create an installer is mostly self-explanatory, hence this installer guide is not complete. The AI support is good if you have any further questions.
1. Install Advanced Installer
This is not the cheapest tool, but I have used before so it was a lower treshold to continue. Note that this installer also code sign the installer itself.
Download Advanced Installer
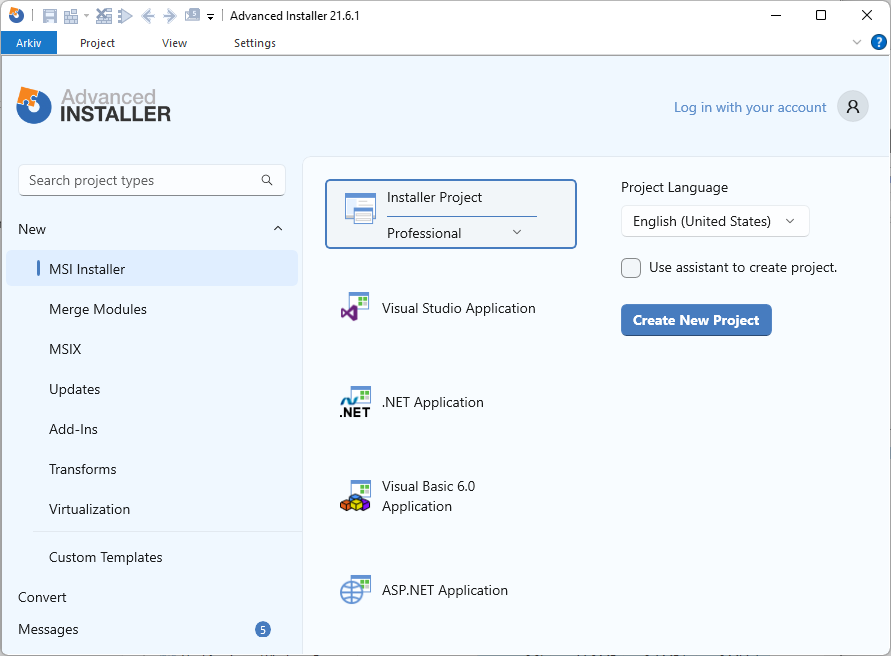
1. Create an msi installer
I decided to create a .msi installer.
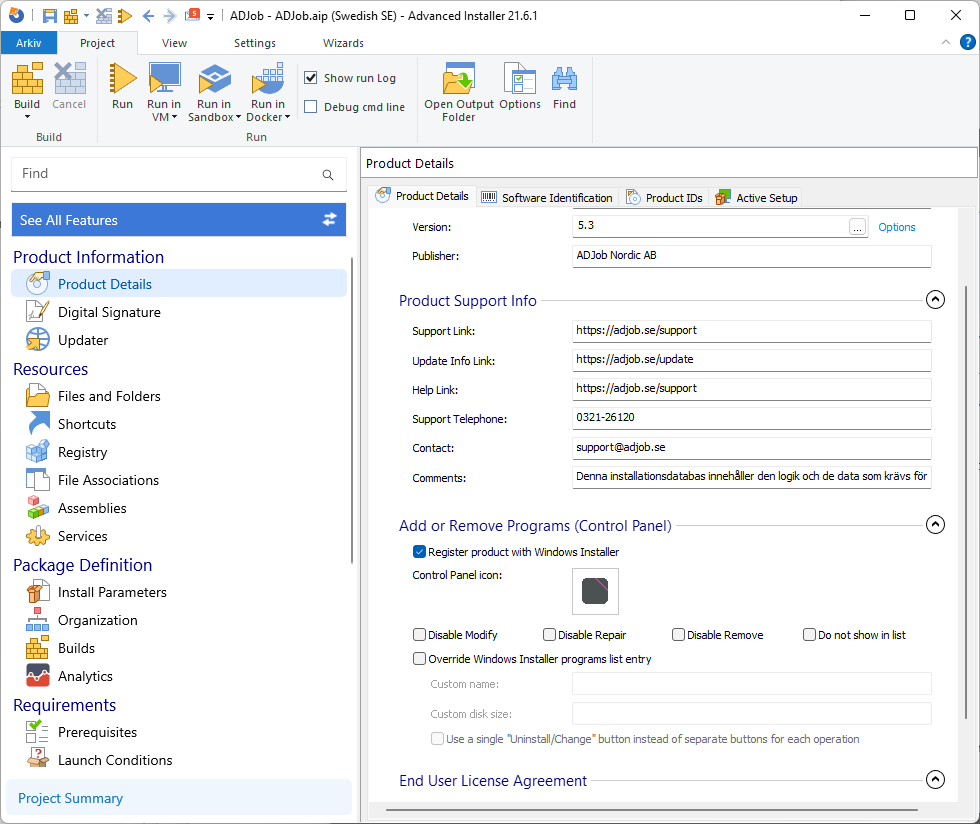
2. Add Name and Company
Add your application name etc...
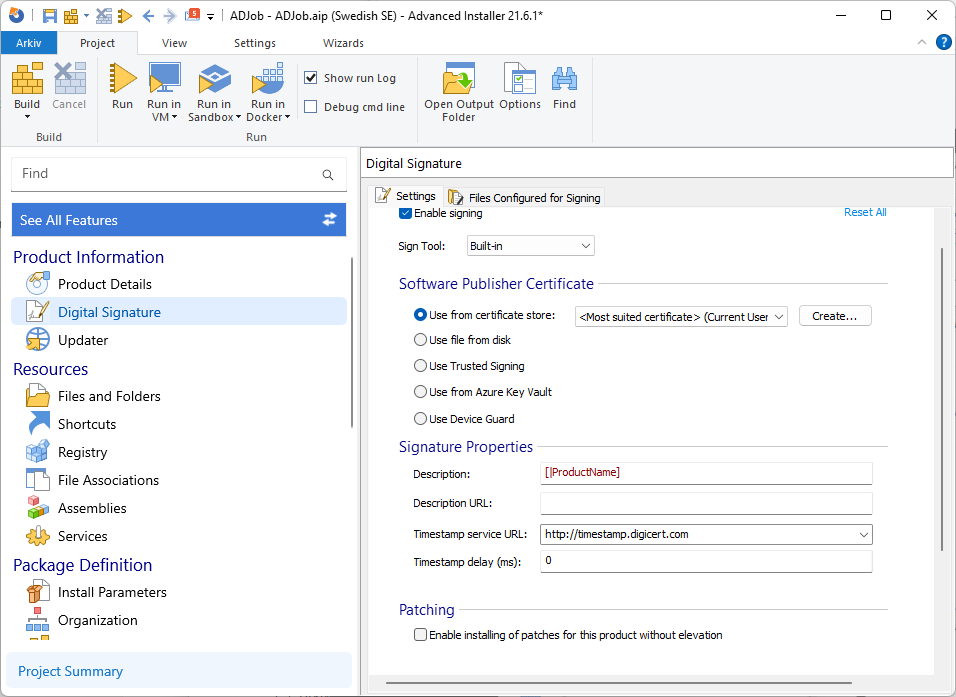
3. Activate the Code Sign Certificate
In order to hand over the code signing of the installer to Advanced Installer, you have to activate the code signing certificate.
4. Add your application folder and files
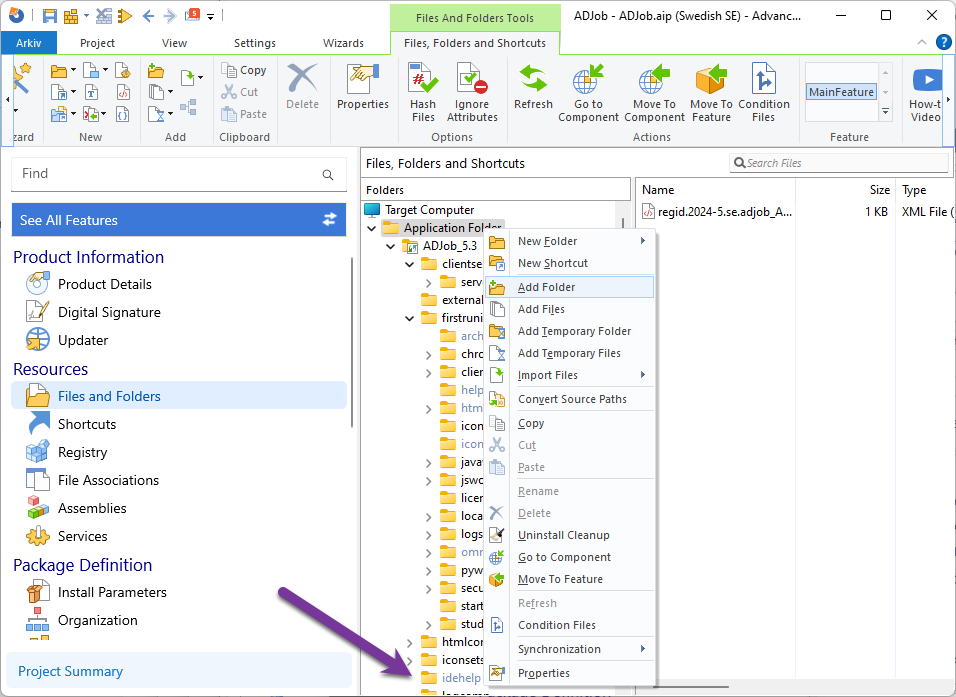
Add your customized Omnis Runtime and add an empty folder "idehelp" (does not work without this folder). You can also add shortcuts here.
5. Build and sign your installer
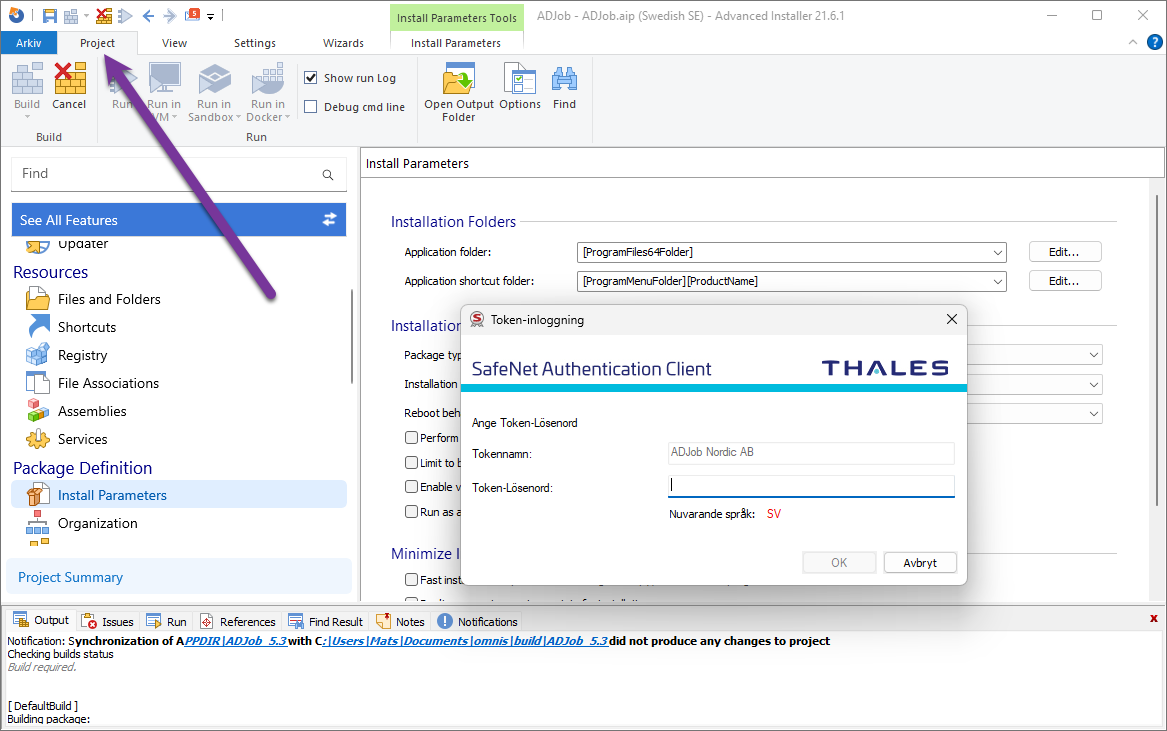
Make sure that you have copied the password for the USB Token ready for pasting when needed. Note that you have to switch tab at the top.
6. Upload your msi installer and test
The msi installer is already compressed and ready for uploading. Download and test your customized app.